How to Use Google AppSheet: Build No-Code Apps Without Programming
The Exact Afternoon the Spreadsheet Dies
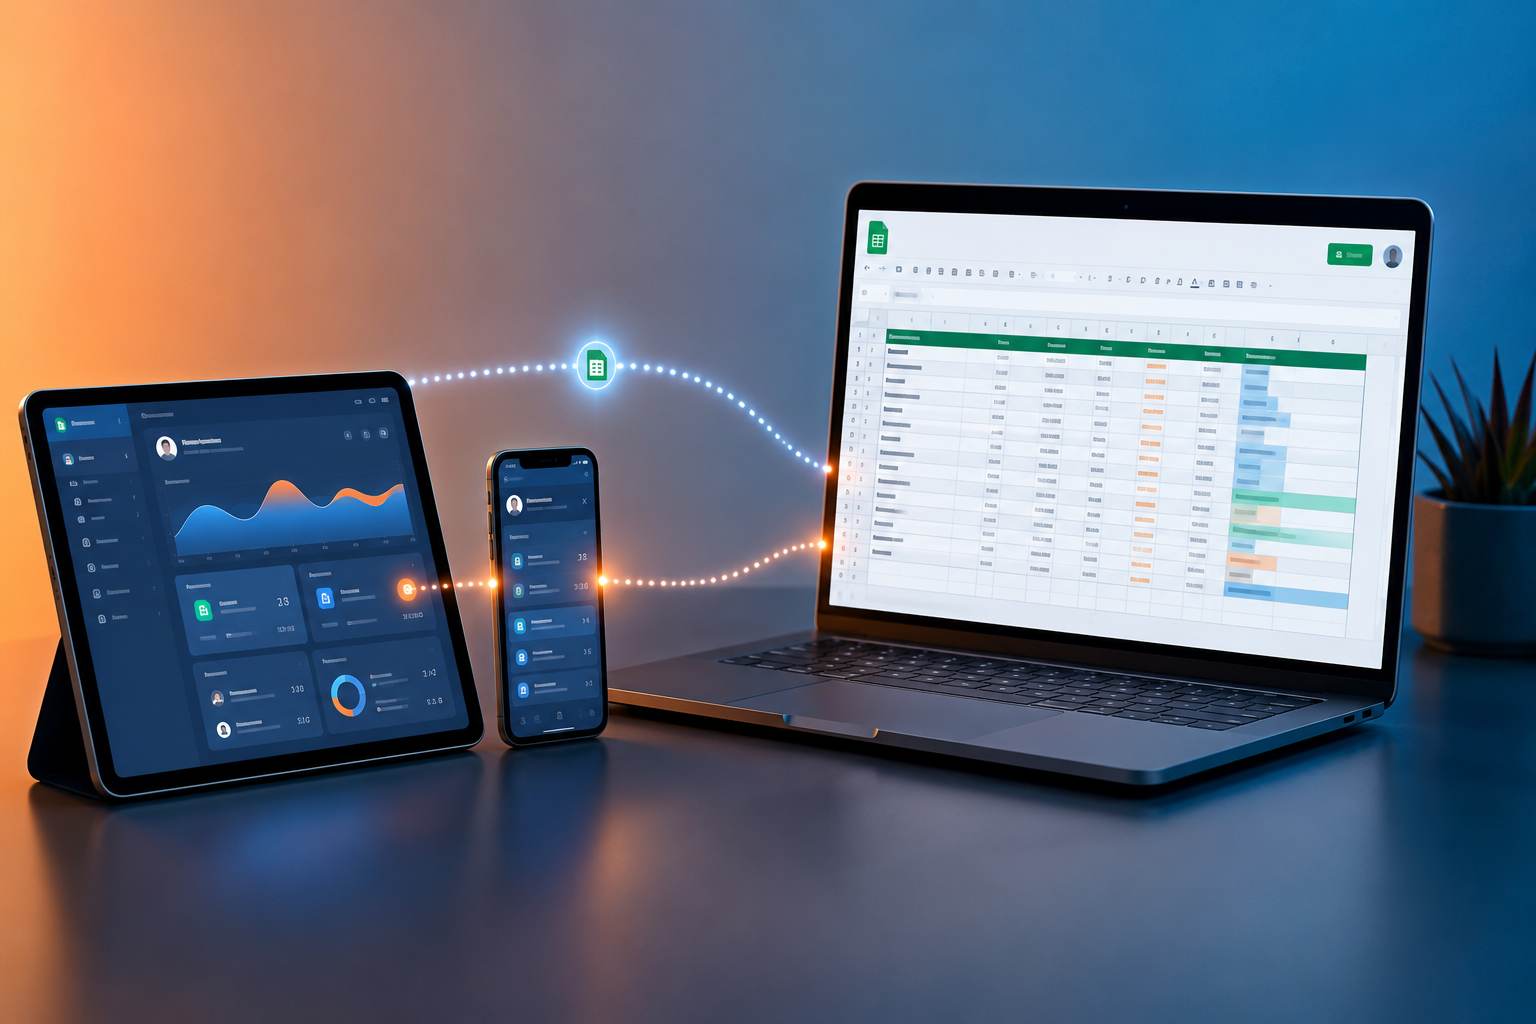
It usually happens on a Tuesday, right around 2:15 PM. You are staring at a Google Sheet that has grown into an absolute monster. It started six months ago as a simple 10-row log to track job site inventory, customer visits, or internal asset approvals. Now, it has 48 columns, thousands of rows, conditional formatting that makes your laptop fan sound like a jet engine, and four separate team members accidentally overwriting each other's data in real time.
Someone invariably drops a formula. A cell gets populated with text instead of a date. Someone deletes column H by mistake, breaking three separate pivot tables downstream. You realize with a sinking feeling that your business processes have completely outgrown flat grid rows, but hiring a software agency to build a custom React Native app will cost $40,000 and take six months you don't have.
This is precisely where Google AppSheet enters the picture.
AppSheet is Google's intent-driven, no-code application development platform. Instead of forcing you to learn Swift, Kotlin, or JavaScript, AppSheet looks at your existing structured data—whether it lives in Google Sheets, Excel on OneDrive, Airtable, or a SQL database—and automatically constructs a functional, cross-platform mobile and web application. You don't write code; you define logic, views, user roles, and automated workflows.
At SaaSbonus, we spend our days dissecting software tools, testing features, and figuring out which tools actually solve operational headaches versus which ones just burn through your IT budget. In this guide, we are going to walk step-by-step through building, customizing, and deploying a real-world, production-ready app using Google AppSheet.
Understanding the Core Philosophy of AppSheet
Before clicking a single button, you need to understand how AppSheet thinks. If you try to approach it like a traditional web design tool like Webflow or WordPress, you will hit a wall.
AppSheet follows a data-first design methodology. In traditional development, you design the UI, write the frontend logic, hook up an API, and structure a backend database. In AppSheet, your data structure is the application blueprint.
+-------------------------------------------------------------+
| YOUR DATA SOURCE |
| (Google Sheets, Excel, SQL Database, BigQuery, etc.) | +-------------------------------------------------------------+ | v +-------------------------------------------------------------+
| APPSHEET ENGINE |
| - Reads schema & column data types |
| - Applies business logic & expressions |
| - Manages user security & access roles | +-------------------------------------------------------------+ | v +-------------------------------------------------------------+
| GENERATED APP |
| - Mobile App (iOS / Android) |
| - Desktop Web View |
| - Automated Workflows (Email, PDF, Webhooks) | +-------------------------------------------------------------+
When you connect a data table to AppSheet, the engine inspects your headers, guesses the data types (Text, Number, Date, Image, Address, Enum), and creates default views. If your underlying spreadsheet data is clean and normalized, 70% of your app building work is already complete.
Core Pillars of AppSheet Architecture
- Data: The underlying source files or databases containing your information tables.
- UX (User Experience): How users interact with that data (forms, maps, decks, charts, detail cards).
- Logic & Expressions: AppSheet's formula engine (similar to Excel formulas) used to calculate values, show/hide fields, and filter lists.
- Automation: Triggers and bots that send emails, build PDFs, hit external APIs, or update records automatically when data changes.
- Security: Controlling who can log in, what records they can read, and whether they can edit, add, or delete entries.
Step 1: Structuring Your Data for Success
Garbage in, garbage out. The single biggest reason people fail with AppSheet is bad data structure. If your spreadsheet contains merged cells, subtotals tucked into row 45, or blank rows used for visual spacing, AppSheet will throw errors.
Let's design a practical real-world scenario: an Equipment Inspection & Asset Tracking App.
To build this, open a new Google Sheet and create two distinct tabs (worksheets) at the bottom: Assets and Inspections.
Tab 1: Assets
Make the very first row your header row. Do not add titles or empty space above row 1.
| Asset ID | Asset Name | Category | Location | Status | Serial Number | Asset Photo |
|---|---|---|---|---|---|---|
| AST-101 | Caterpillar Excavator | Heavy Equipment | Site A | Active | CAT-88392 | (leave blank) |
| AST-102 | Honda Generator 7000W | Power Tools | Site B | Maintenance | HON-11029 | (leave blank) |
Tab 2: Inspections
This table records each time a field worker checks a piece of equipment.
| Inspection ID | Asset ID | Inspection Date | Inspector Email | Pass Status | Notes | Signature Photo |
|---|---|---|---|---|---|---|
| INS-5001 | AST-101 | 10/24/2026 | sam@company.com | Pass | Clean filter | (leave blank) |
Pro Tip: Always create a unique identifier column for every single table (like Asset ID or Inspection ID). Never rely on row numbers or person names as primary keys, as those change over time.
Step 2: Creating Your App
Now that your Google Sheet is set up, launching your app takes under two minutes. You have two ways to start:
- Directly from Google Sheets: Click Extensions in the top menu bar, hover over AppSheet, and select Create an app.
- From the AppSheet Dashboard: Navigate to appsheet.com, sign in with your Google account, click Create > App > Start with existing data, and select your sheet.
Google Sheets Menu Bar: [ File ] [ Edit ] [ View ] [ Insert ] [ Extensions ] | +-- [ AppSheet ] | +-- [ Create an app ]
AppSheet will analyze your sheets, detect columns, create a workspace, and display a fully interactive mobile preview on the right side of your screen.
At this stage, you'll see your Assets table displayed as a list view. However, your second table (Inspections) isn't attached yet. In the AppSheet editor, go to Data on the left menu, click the + (Add Table) icon, choose your Google Sheet, select the Inspections tab, and click Add This Table.
Step 3: Configuring Data Schema and Types
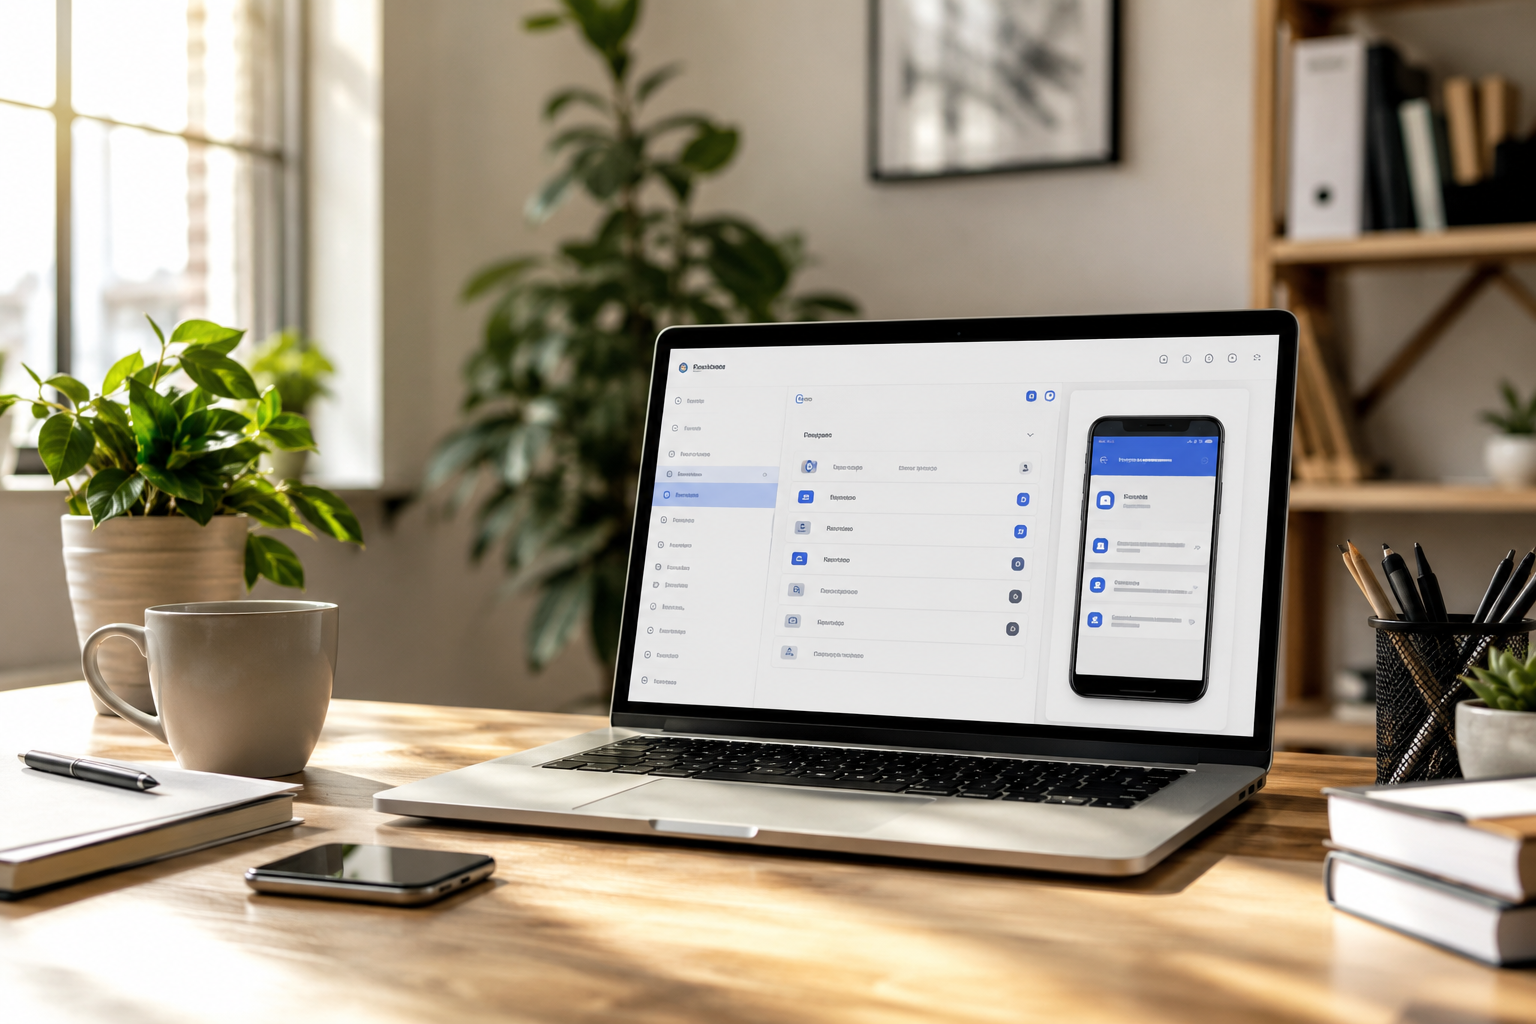
Clicking on Data > Columns opens your app's digital engine room. Here, you define what each column actually represents.
AppSheet auto-detects column types, but you should review and fine-tune them:
Adjusting Key Data Types
- Asset ID (in Assets table): Set Type to Text. Mark the Key checkbox. Set Initial Value to UNIQUEID(). This auto-generates an 8-character random string for every new asset.
- Category: Set Type to Enum. Click the gear icon to add choices: Heavy Equipment, Power Tools, Vehicles, Safety Gear.
- Status: Set Type to Enum. Choices: Active, In Maintenance, Decommissioned.
- Asset Photo: Set Type to Image. This transforms the column from a text box into a smartphone camera button.
- Inspector Email: Set Type to Email. Set Initial Value to USEREMAIL(). AppSheet will automatically log whoever is logged into the app without making them type their email.
- Signature Photo: Set Type to Signature. Users can draw their signature right on their touch screen.
Building Relational Data (The Magic of Ref)
Here is where AppSheet really shines. You want to connect the Inspections table directly to the Assets table so that viewing an asset shows every inspection ever logged for it.
- Go to Data > Columns > Inspections.
- Find the Asset ID column.
- Change its Type from Text to Ref (Reference).
- In the settings pop-up, set ReferencedTableName to Assets.
- Check the box that says IsPartOf.
+-----------------------+ +-----------------------+
| ASSETS | | INSPECTIONS | +-----------------------+ +-----------------------+
| Asset ID (Key) <----+--------------+ Asset ID (Ref) |
| Asset Name | 1-to-Many | Inspection ID (Key) |
| Category | Relation | Inspection Date |
| Location | | Inspector Email | +-----------------------+ +-----------------------+
By establishing this Ref link, AppSheet automatically creates an inline list of inspections at the bottom of every asset view and adds a dropdown menu to select assets inside the inspection creation form.
Step 4: Crafting the User Interface (UX)
With data types configured, head over to the UX tab on the left sidebar. AppSheet gives you complete control over how your app looks and feels across mobile screens and desktop monitors.
View Types Overview
| View Type | Best Used For | Key Feature |
|---|---|---|
| Deck | Asset catalogs, team profiles | Image thumbnail + 3 quick text lines |
| Gallery | Visual portfolios, product listings | Grid layout emphasizing images |
| Table | Data-dense management | Spreadsheet-style rows for desktop |
| Map | Field teams, deliveries | Uses address or GPS coordinates |
| Form | Data entry, surveys | Step-by-step inputs with conditional rules |
| Dashboard | Executive overviews | Combines multiple views on one screen |
Setting Up Your Primary Views
Let's create two primary navigation views at the bottom of your mobile app screen.
View 1: Asset Directory
- Name: Assets
- For This Data: Assets
- View Type: Deck
- Primary Header: Asset Name
- Secondary Header: Category
- Summary Column: Status
- Sort By: Asset Name (Ascending)
- Group By: Category
View 2: Inspection Map
- Name: Map View
- For This Data: Assets
- View Type: Map
- Map Column: Location (AppSheet will automatically pin locations using addresses or raw Lat/Long coordinates).
Customizing Brand Aesthetics
Click UX > Brand to customize the app interface:
- Select between Light Theme and Dark Theme.
- Choose a primary brand color (e.g., Deep Navy Blue or Field Orange).
- Upload your company logo for the header bar.
- Enable Show logo in header and Show user photo in header.
+------------------------------------+
| [=] Asset Tracker [UserPic] | +------------------------------------+
| [Search Assets...] |
| |
| HEAVY EQUIPMENT |
| +------------------------------+ |
| | [IMG] Caterpillar Excavator | |
| | Site A • Active | |
| +------------------------------+ |
| |
| POWER TOOLS |
| +------------------------------+ |
| | [IMG] Honda Generator 7000W | |
| | Site B • Maintenance | |
| +------------------------------+ |
| |
| [ Assets ] [ Map ] [ Add + ] | +------------------------------------+
Step 5: Master AppSheet Expressions and Formulas
AppSheet expressions use syntax similar to Google Sheets formulas, but add support for application-specific logic. They let you build complex dynamic behavior without traditional code.
Where to use expressions: Go to Data > Columns, click edit on any column, and expand the expression fields (e.g., Show?, Require?, App formula, Initial Value).
5 Essential Expressions Every Builder Should Know
1. Dynamic User Email Capture
Automatically attribute created records to logged-in users. text USEREMAIL()
Insert into: Initial Value of Inspector Email field.
2. Conditional Field Visibility
Only show the "Failure Detail Notes" field if the "Pass Status" is set to "Fail". text [Pass Status] = "Fail"
Insert into: Show? parameter on the Failure Detail Notes column.
3. Filtering Data by Current User (Row-Level Security)
Ensure field workers only see assets assigned to their specific location or user account. text [Inspector Email] = USEREMAIL()
Insert into: Security Filter settings on the Inspections table.

4. Constructing Dynamic Strings
Create readable asset titles automatically. text CONCATENATE([Category], " - ", [Asset Name], " (", [Location], ")")
5. Calculating Aggregates Across Related Tables
Count how many total inspections have been run for a specific asset. text COUNT([Related Inspections])
Step 6: Automating Workflows with AppSheet Bots
An app shouldn't just record data; it should automate repetitive follow-up tasks. AppSheet's Automation engine lets you create event-triggered bots that perform background actions.
Let's create an automated alert: If an inspector flags an asset as "Fail", automatically email the maintenance department with a summary PDF attached.
+-------------------------------------------------------------+
| EVENT TRIGGER |
| A new Inspection record is added to the database | +-------------------------------------------------------------+ | v +-------------------------------------------------------------+
| FILTER CONDITION |
| [Pass Status] = "Fail" | +-------------------------------------------------------------+ | v +-------------------------------------------------------------+
| AUTOMATED BOT |
| 1. Generate PDF Inspection Report from Google Doc template |
| 2. Send email to maintenance@company.com via Gmail API |
| 3. Push instant mobile notification to On-Call Technician | +-------------------------------------------------------------+
Setting Up the Automation Bot
- Click Automation (lightning icon) on the left menu.
- Click + Create a New Bot.
- Name your bot: Failed Inspection Alert.
- Configure Event: Select Data Change > Adds Only > Table: Inspections.
- Set Condition: [Pass Status] = "Fail".
- Configure Action: Select Send an email.
- To: "maintenance@yourcompany.com"
- Email Subject: CONCATENATE("ALERT: Failed Inspection on ", [Asset ID].[Asset Name])
- Email Body: "An asset failed inspection today. Please review the attached record and dispatch a service tech immediately."
- Click Create Attachment PDF Custom Template. AppSheet generates an editable Google Doc template prepopulated with dynamic fields like <<[Asset Name]>>, <<[Inspector Email]>>, and <<[Notes]>>.
Now, the moment a field technician hits "Save" on a failed inspection, an alert email with a styled PDF report hits your maintenance manager's inbox within seconds.
Step 7: Offline Functionality & Security Controls
Real-world field teams often work in basements, rural sites, or steel-frame warehouses with poor cellular coverage. AppSheet handles offline environments remarkably well out of the box.
Managing Offline Behavior
Navigate to Settings > Offline & Sync:
- Store data for offline use: Enable this to save data locally on the mobile device's flash storage.
- Sync on start: Downloads the latest database values every time the application opens.
- Delayed sync: Allows users to fill out forms and capture photos offline. All pending updates queue up on the device and sync automatically once a cell signal or Wi-Fi connection returns.
[ Offline Field Worker ] ---> Captures Photos & Notes ---> Local Flash Storage | (Cell Signal Restored) | v [ Cloud Engine ] <--- Auto Syncs Queued Updates <--- Background Cloud Process
Managing Security and Permissions
Under Security > Require User Sign-In, ensure sign-in is toggled ON. This forces users to authenticate using their Google, Microsoft, or Apple credentials.
To restrict data editing privileges, adjust table modes under Data > Tables:
- ALL_TABLES: Full read, add, update, and delete access.
- READ_ONLY: Great for management dashboard users who shouldn't alter entries.
- ADDS_ONLY: Great for public feedback kiosks or initial inspection forms where logged records cannot be altered later.
Step 8: Deploying Your App to Users
While building your application, it remains in Prototype Mode. You can invite up to 10 test users to evaluate prototype apps completely free of charge.
When you're ready to launch production-wide:
- Go to Manage > Deployment Check.
- Click Run deployment check. AppSheet checks for broken expressions, missing key columns, or unlinked relations.
- Click Move app to deployed state.
+-------------------------------------------------------------+
| APP DEPLOYMENT OPTIONS | +-------------------------------------------------------------+ | +-----------------------+-----------------------+
| | v v [ AppSheet Native Shell ] [ Web Application View ]
- Install "AppSheet" from App/Play Store - Instant browser link access
- Select your custom app inside - Optimized for desktop monitors
- Works offline with full native sensors - Great for back-office admin tasks
How End Users Access Your App
- Mobile Devices (iOS & Android): End users install the free AppSheet Native Container app from the Apple App Store or Google Play Store. Once signed in, your custom application appears on their home screen, complete with native camera access, GPS mapping, signature capture, and offline capabilities.
- Desktop & Web Browsers: AppSheet generates an instant web link. Users open this URL on Google Chrome, Edge, or Safari to run the app in a responsive, desktop-optimized layout.
Understanding Google AppSheet Pricing
AppSheet offers flexible plans depending on your infrastructure requirements, data connectors, and user base size.
| Feature / Tier | Starter Plan | Core Plan | Enterprise Tier |
|---|---|---|---|
| Price per User | ~$5 / user / month | ~$10 / user / month | Custom quote |
| Included in Workspace | Selected editions | Google Workspace Enterprise | Custom Enterprise Add-on |
| Data Sources | Google Sheets, Excel, Box | Google Sheets, Excel, Cloud SQL | SQL Server, Salesforce, REST APIs |
| Security Options | Basic Auth | Role-based Access Control (RBAC) | SSO, Domain Control, Governance |
| Automation Features | Basic email notifications | Full PDF Generation & Webhooks | Advanced API Integrations |
Money-Saving Tip: If your organization uses Google Workspace Enterprise plan licenses, AppSheet Core accounts are often included at no extra cost per seat. Check your current license allocations before purchasing standalone seats.
Real-World AppSheet Use Cases
Not sure what else to build? Here are four proven apps companies deploy using AppSheet instead of paying for expensive specialized software:
1. Delivery Driver Logistics & Delivery Verification
- Data Sources: Google Sheets + Google Maps API.
- Features: Routes delivery stops, captures digital customer signatures upon arrival, logs GPS coordinates, and snaps photos of delivered packages.
2. IT & Office Asset Management
- Data Sources: Excel on OneDrive.
- Features: Generates printable QR code labels for monitors and laptops. Employees scan a QR code with their phone camera to check out equipment or report hardware failures.
3. Construction Site Daily Field Logs
- Data Sources: Google Sheets + Cloud Storage.
- Features: Subcontractors submit daily safety logs, document hazards with photos, track equipment hours, and flag weather delays—even with zero site connectivity.
4. Custom HR Onboarding & Expense Approvals
- Data Sources: SQL Database / BigQuery.
- Features: New hires complete onboarding checklists, submit receipt photos for expense reimbursements, and trigger automated approval workflows for department managers.
Best Practices to Keep Your Apps Fast and Scalable
As your business grows and your databases expand from hundreds to tens of thousands of rows, keep these key performance rules in mind:
- Avoid Over-Using LOOKUP() Expressions: Excessive nested lookups recalculate across every row on every sync, slowing app performance. Rely on native Ref relationship columns instead.
- Compress Uploaded Images: High-resolution camera photos hog bandwidth. Go to Settings > Image & File Properties and set Image Upload Size to Medium or Low to speed up mobile syncs without sacrificing visibility.
- Archive Historical Data: If you hit 50,000+ records in a standard Google Sheet, app sync times will slow down. Move old records to an archive sheet, or upgrade your backend data source to Google Cloud SQL or BigQuery.
- Use Security Filters: Instead of downloading your entire database to every user's device, set up Security Filters so mobile devices only download records relevant to their specific role or location.
Final Thoughts: Taking the Next Step
The era of waiting months for IT development queues or shelling out six figures for custom mobile software is officially over. By leveraging Google AppSheet, you can transform flat spreadsheets into secure, functional, cross-platform enterprise applications in an afternoon.
Start small. Take one frustrating, broken spreadsheet process in your business today, clean up its headers, connect it to AppSheet, and deploy a prototype to a few team members. You'll instantly see how no-code application development can transform your day-to-day operations.
For more software guides, deep-dive technical reviews, and exclusive software discounts, explore our full library of resources at SaaSbonus.